

If you're starting from scratch and looking to break into the world of networking, one of the smartest moves you can make is pursuing Cisco certifications—and there’s no better way to get hands-on experience than with NetSim Network Simulator.
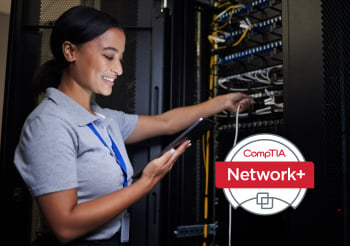
If you're considering a career in networking, the CompTIA Network+ certification is an excellent starting point. This vendor-neutral certification validates your foundational networking knowledge and skills, making it a valuable credential for IT professionals.

In today’s competitive job market, IT and cybersecurity professionals are constantly looking for ways to stand out. Two of the most valuable certifications in the field—Certified Information Systems Security Professional (CISSP) and Project Management Professional (PMP)—are often pursued separately but earning both can unlock a wealth of career opportunities. Let’s explore what each covers, the exam experiences, career prospects, and the benefits of holding both certifications, as well as potential earning increases.

In the world of IT certifications, the allure of exam dumps can be strong. Promising quick success by providing so-called “real” exam questions, dumps may seem like an easy path to certification. However, relying on exam dumps is fraught with significant risks that can derail your career and undermine your knowledge base. This blog will explore the pitfalls of exam dumps and explain why legitimate tools like Boson’s ExSim-Max are essential for proper preparation.

Thinking of taking CompTIA’s Security+ exam (SY0-701)? As with nearly all CompTIA exams, the SY0-701 exam is a vendor-neutral, baseline competency exam. By limiting its content to best practices, standards-based solutions, and general security concepts, the SY0-701 exam can be used to assess a candidate's breadth of security knowledge without requiring too much deep subject matter knowledge or experience. Because the exam is vendor-neutral, a candidate can focus on security concepts and abstract implementation details without worrying about specific vendor solutions.
We like to provide blog posts that will help you get to know the people behind Boson a little better. From our software developers to our customer support representatives, there are plenty of talented team members worth meeting.

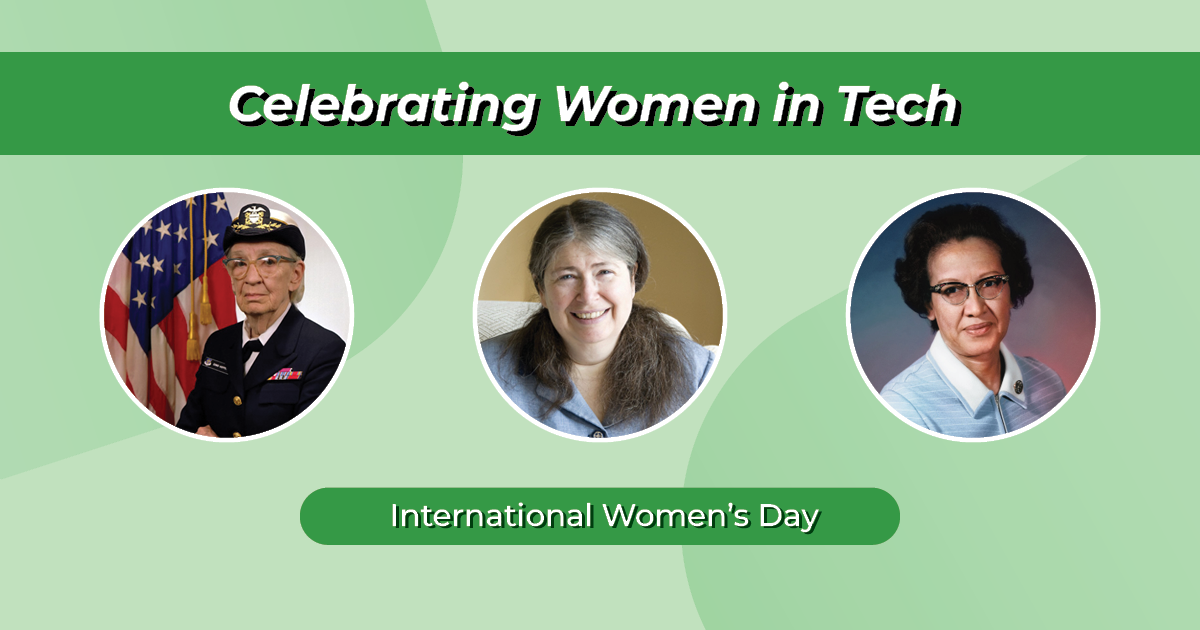
As we celebrate International Women's Day, it's important to recognize the extraordinary contributions of women in shaping the landscape of technology, particularly in fields like computer science and networking. Despite facing numerous challenges and barriers, these pioneering women made significant strides, breaking stereotypes and paving the way for future generations.